导读
封装,继承和多态是面向对象的三大特性。
继承是JavaScript老生常谈的问题,也基础中的基础。最基本的就是知道JS中继承种类,优缺点并能够手写例子。下面我引用掘金Oliveryoung老兄一篇文章的思维导图,他的这篇文章写的很棒。可以点击。
继承相关的文章实在是过多,纠结了很久还是落笔,主要原因是:
- 继承也是JavaScript进阶系列的组成部分,同时也是自己对于知识点的梳理;
- 对于刚好看到这篇文章的小伙伴,可以温故知新;
- 把自己的理解写出来,有错误的能够指出,一起进步;
下面我以思维导图为依据,根据不同思路,给出不同的继承方式,扫盲这块知识点。
原型链继承
利用JavaScript原型链的,把父对象链到子对象的原型中一些特性,我举如下的例子,并给出代码:1
2
3
4
5
6
7
8
9
10
11
12
13
14
15
16
17
18//父类对象
var Animal = function(){
this.compose = ["head","body","legs"]; //小动物的组成部分
this.statistics = {count:0}; //小动物的数量
this.category = "animal";
}
//子类对象
var Cat = function(name){
this.category = "cat";
this.name = name; //小动物名称
}
Cat.prototype = new Animal(); //原型链继承
var tom = new Cat("Tom");
tom.compose.push("blue eyes");
tom.statistics.count++;
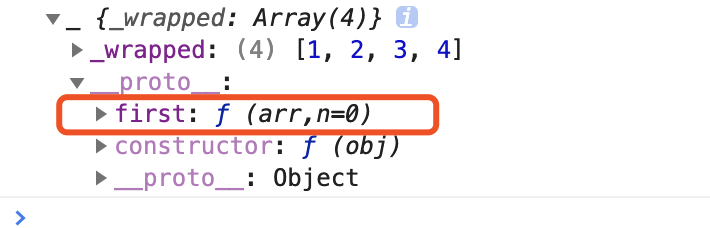
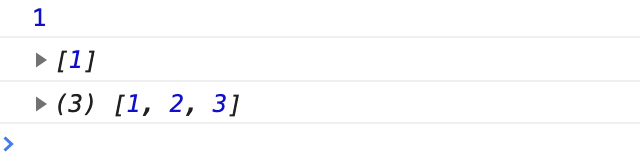
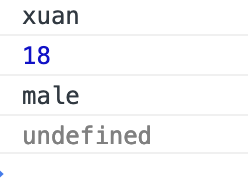
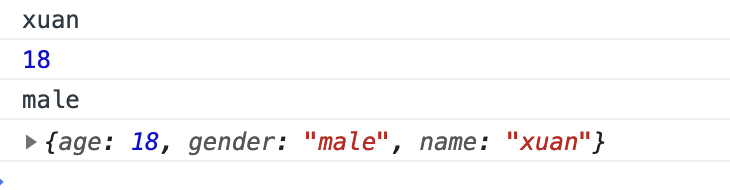
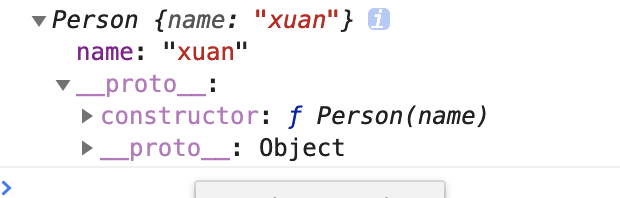
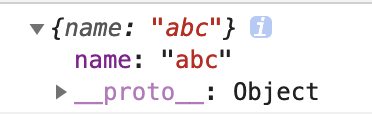
console.log(tom);
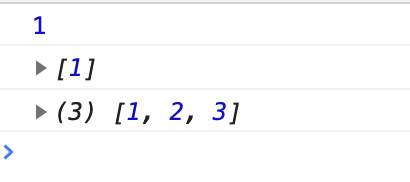
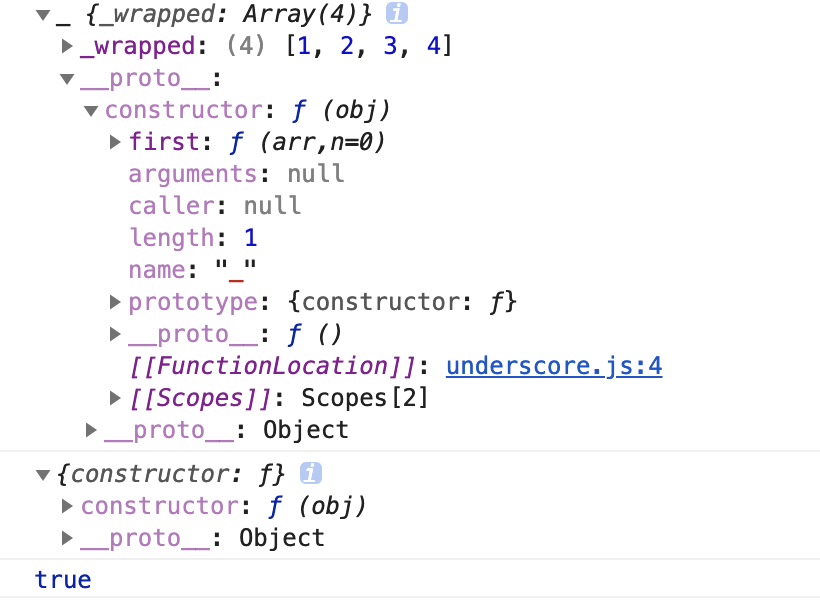
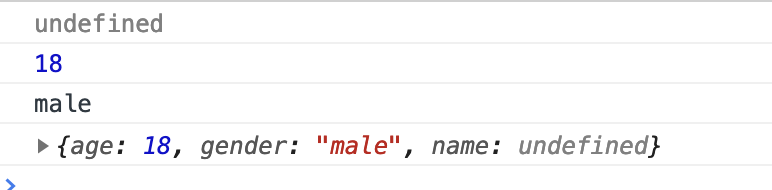
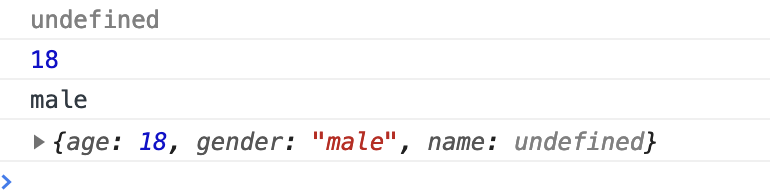
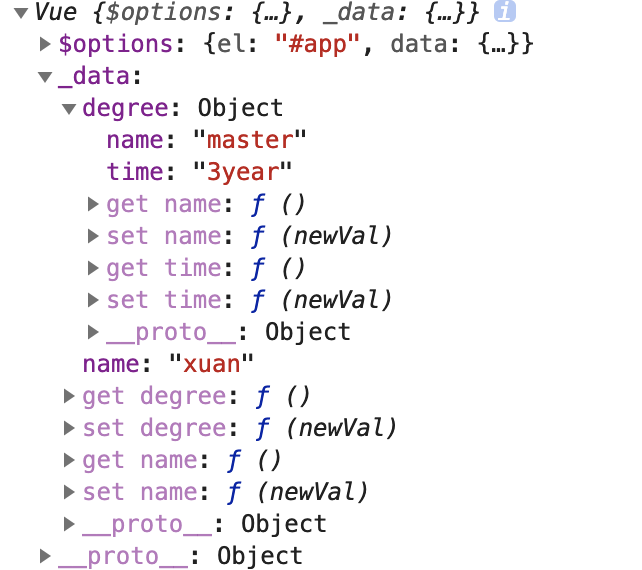
打印结果如下:
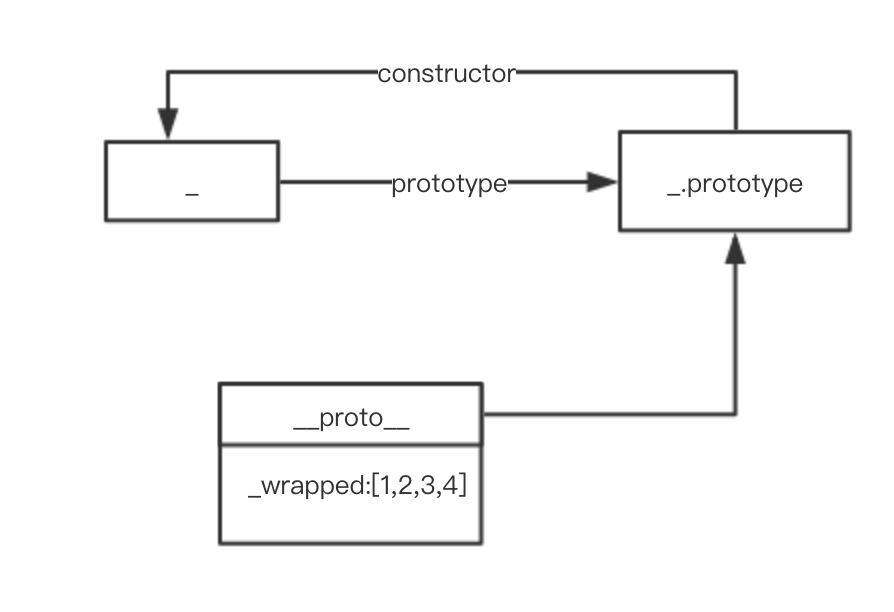
下面是对象之间的关联关系。
tom猫的_proto_属性指向Cat.prototype,而Cat.prototype = new Animal()将Animal对象的”一切”都继承了下来。
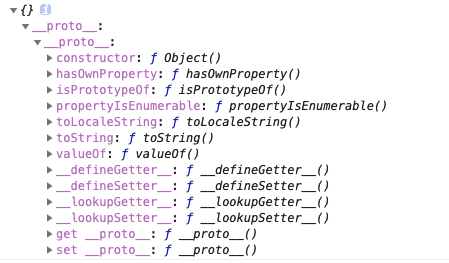
我们接着执行如下代码:
1 | var jemmy = new Cat("jemmy"); |
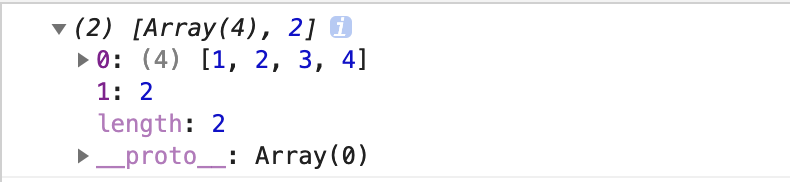
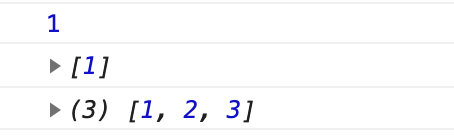
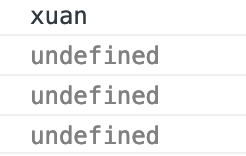
打印结果:
公有引用属性(statistics)没有问题,但是私有引用属性(compose)被污染,所以原型链继承缺点:
- 污染私有引用属性
- 无法向父对象传参
构造器继承
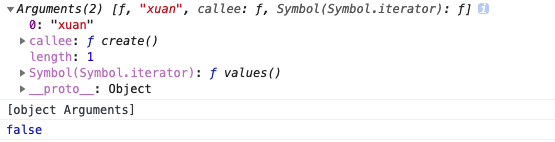
既然私有引用属(compose)属性不能挂载在Cat.prototype,那我们把它挂载在自雷对象上,使用call或者apply来改变context,不熟悉call和apply请猛戳这里。
1 | //父类 |
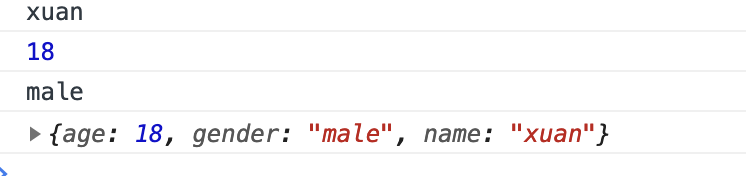
打印结果如下:
对象之间的关系图如下:
构造器继承解决了原型链继承的两大问题,但是又暴露了公有引用属性不能共享的问题。矫枉过正!
我们把公有引用属性使用原型链继承,私有引用属性使用构造器继承,引出组合继承(构造器+原型组合继承)
组合继承
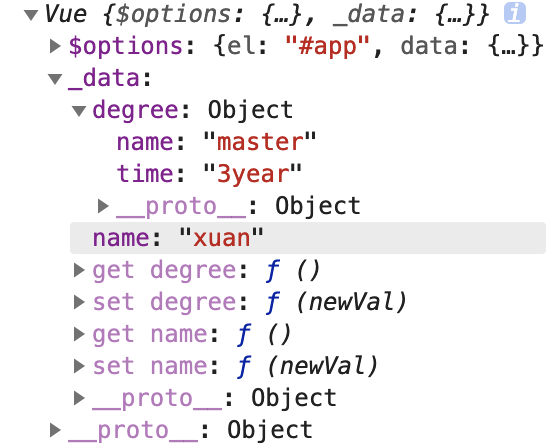
我们将compose属性挂载在对象属性上,statistics属性挂载在原型上,结合前两种继承:
1 | //父类 |
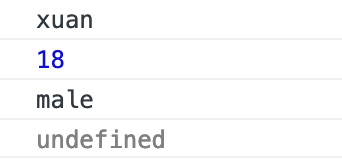
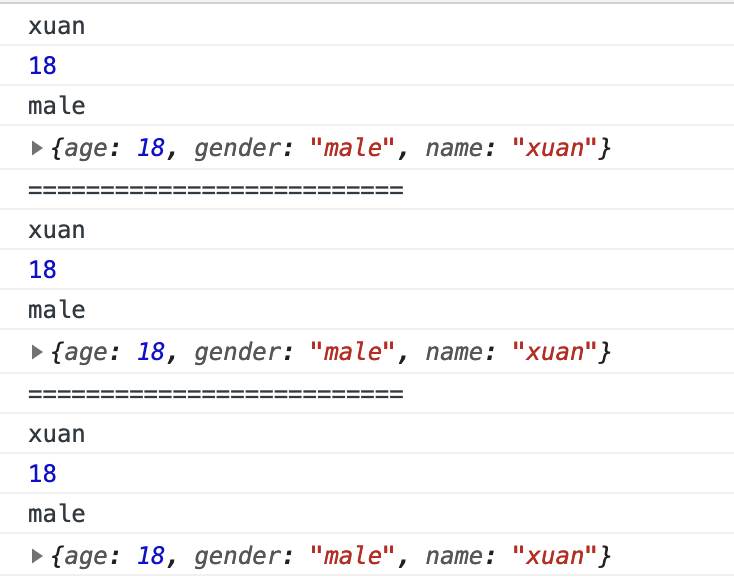
打印结果:
对象之间的关系图如下:
融合原型链继承和构造函数继承的优点,也是常见的继承策略。
原型继承
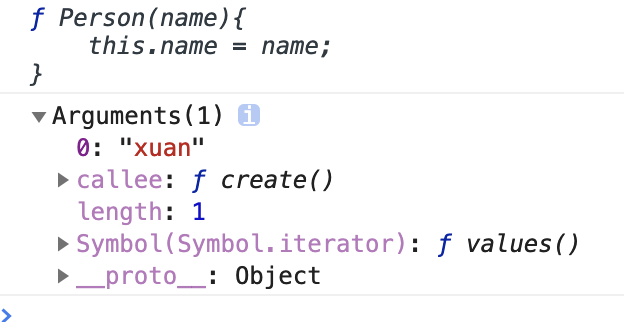
原型继承主要利用ES5出现的Object.create()函数,这里改写一下上述的例子:
1 | var Animal = function (category) { |
对象结构如下:
原型继承和原型链继承一样,只是使用Object.create()的方式进行继承。
寄生式继承
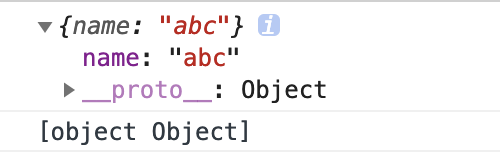
鉴于原型式继承的封装性不是很好,寄生式继承主要用于解决这个问题。
1 | //父类 |
这种方式比原型式继承封装性更好。但是缺点还是没解决的。在寄生式基础上,结合构造器继承,就是寄生组合式继承。
寄生组合式继承
寄生组合式继承,更多了还是利用组合式继承的思想。
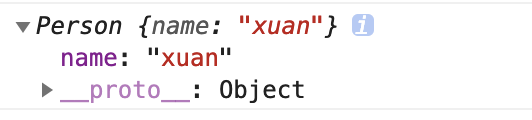
1 | //父类 |
打印结果和组合式继承一致:
总结一下,JavaScript的继承的思想主要由下面两条构成:
- 将私有属性通过
call/apply在子对象构造函数中调用,直接继承- 将公有属性通过原型链继承
组合式继承和寄生组合式继承只是实现方式的不同,思想是一致的。
ES6
class和extends的出现,使继承变得简单!
1 | class Animal{ |
打印结果如下:
我们使用babel转成ES5语法,快速转换地址这里:
转换结果如下:1
2
3
4
5
6
7
8
9
10
11
12
13
14
15
16
17
18
19
20
21
22
23
24
25
26
27
28
29
30
31
32
33
34
35
36
37
38
39
40
41
42
43
44
45
46
47
48
49
50
51
52
53
54
55
56
57
58
59
60
61
62
63
64
65;
function _typeof(obj) { if (typeof Symbol === "function" && typeof Symbol.iterator === "symbol") { _typeof = function _typeof(obj) { return typeof obj; }; } else { _typeof = function _typeof(obj) { return obj && typeof Symbol === "function" && obj.constructor === Symbol && obj !== Symbol.prototype ? "symbol" : typeof obj; }; } return _typeof(obj); }
function _possibleConstructorReturn(self, call) { if (call && (_typeof(call) === "object" || typeof call === "function")) { return call; } return _assertThisInitialized(self); }
function _assertThisInitialized(self) { if (self === void 0) { throw new ReferenceError("this hasn't been initialised - super() hasn't been called"); } return self; }
function _getPrototypeOf(o) {
_getPrototypeOf = Object.setPrototypeOf ? Object.getPrototypeOf :
function _getPrototypeOf(o) {
return o.__proto__ || Object.getPrototypeOf(o);
};
return _getPrototypeOf(o);
}
function _inherits(subClass, superClass) {
if (typeof superClass !== "function" && superClass !== null) {
throw new TypeError("Super expression must either be null or a function");
}
//子类的原型指向一个以(subClass为构造函数,superClass.prototype中的对象属性)的对象
subClass.prototype = Object.create(superClass && superClass.prototype, {
constructor: { value: subClass, writable: true, configurable: true } });
if (superClass) _setPrototypeOf(subClass, superClass);
}
function _setPrototypeOf(o, p) {
_setPrototypeOf = Object.setPrototypeOf ||
function _setPrototypeOf(o, p)
{ o.__proto__ = p; return o; };
return _setPrototypeOf(o, p);
}
function _instanceof(left, right) { if (right != null && typeof Symbol !== "undefined" && right[Symbol.hasInstance]) { return right[Symbol.hasInstance](left); } else { return left instanceof right; } }
function _classCallCheck(instance, Constructor) { if (!_instanceof(instance, Constructor)) { throw new TypeError("Cannot call a class as a function"); } }
var Animal = function Animal(category) {
_classCallCheck(this, Animal);
this.compose = ["head", "body", "legs"];
this.category = category || "animal";
};
Animal.prototype.statistics = {
count: 0
};
var Cat =
/*#__PURE__*/
function (_Animal) {
_inherits(Cat, _Animal);
function Cat(name) {
var _this;
_classCallCheck(this, Cat);
_this = _possibleConstructorReturn(this, _getPrototypeOf(Cat).call(this, "cat"));
_this.name = name;
return _this;
}
return Cat;
}(Animal);
大家可以仔细看看这段代码,写的挺有意思的,看懂了基本上也就理解继承了。在这里_inherits(Cat, _Animal)跟寄生组合式继承中的proto(Cat,Animal)一样,_getPrototypeOf(Cat).call(this, "cat")和Animal.call(this,"cat");也一样,值得一提的是ES6中的super(xxx)就是将父类的构造函数使用call进行传参。